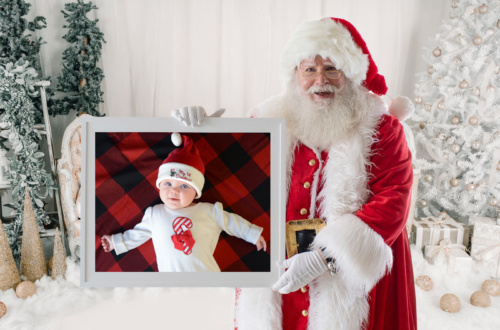
It’s almost Valentine’s Day! If you are like me, you love taking pictures of your kids to create fun and lasting memories. With how busy life is with kids, a quick and simple photoshoot idea is what works best, and as a Colorado photographer having to constantly deal with the indecisive weather, an indoor session is even better.

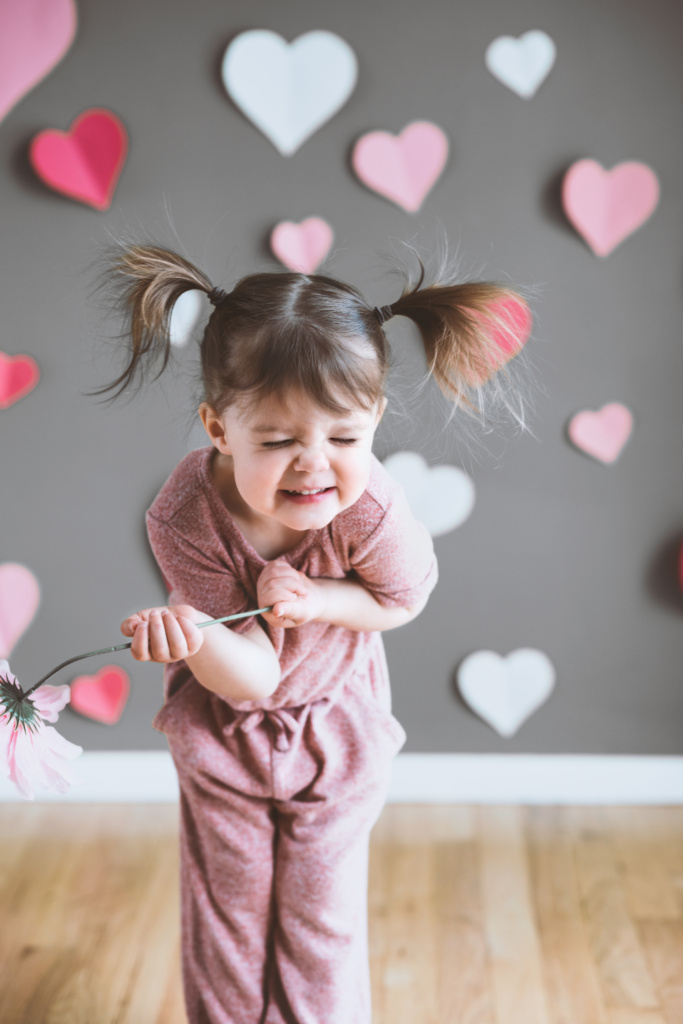
The first thing every Valentine’s Day picture needs: HEARTS.
I carefully made my way to the back of our cluttered storage/laundry/overflow/craft room to hunt for some long-forgotten construction paper.
Next, I did something I realize I shouldn’t have ever let my toddler witness, and I carefully and lightly traced the outline of a heart with a crayon, through the light on my monitor. There was no way I was going to be able make pretty heart shapes on my own. I used the same heart shape I traced multiple times, resized, so that the hearts would look consistent.
I folded each heart in half, unfolded it, and stuck painters tape on the back-right side of each heart. My light source was going to be coming from the right, and by sticking only the right side to the wall, and leaving the left side to flap out a bit, I was able to create a little shadow and the appearance of depth.
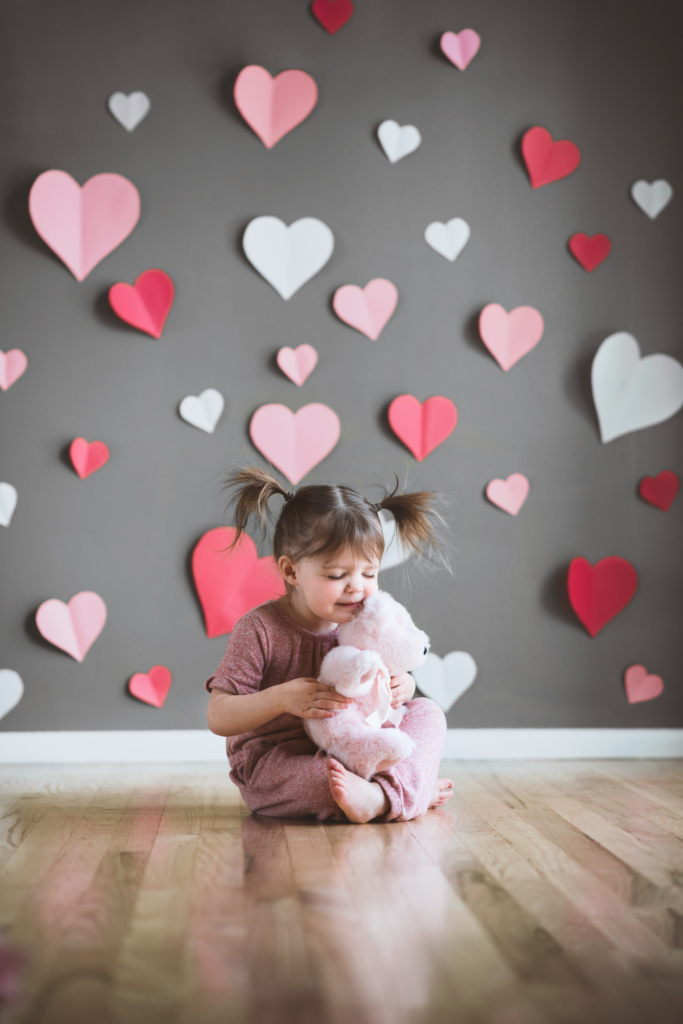
Pro tip: let your child stick all the hearts to the wall for you. It buys you the time it takes to cut out more hearts than you realize you needed, though you may have to deal with your child’s impatience because you can’t put tape on them fast enough.
I used natural light, coming from a sliding glass door. I also set up a collapsible reflector (like these) to the left, for a bit of added light. If you do not have a reflector, you can always improvise with a large piece of white poster paper.
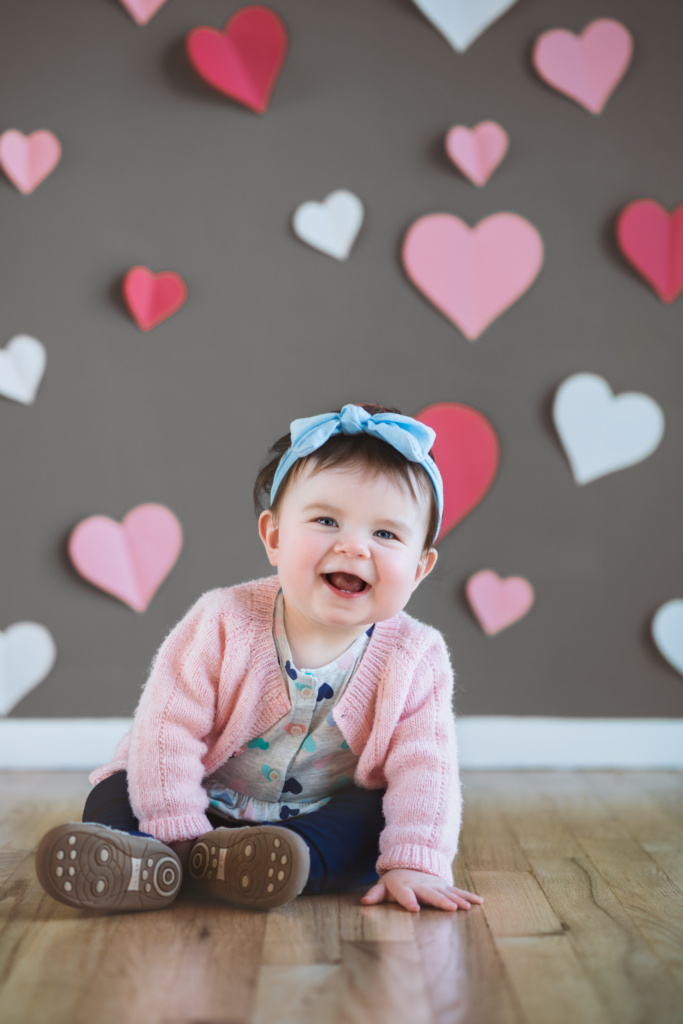
I realized, for the 40th time, how tough it is to get a toddler to pose, or even stand, where you want. Some of the things that help the most are props. In this case, I used pink flowers and a pink teddy bear (the bear was thrown up in the air much more than it was cuddled).
I ended up putting a small piece of painters tape on the floor, which I called her “mark.” She would say, “I need my mark!” and she would stand/sit/spin/lay/jump, all exactly where I needed her to.
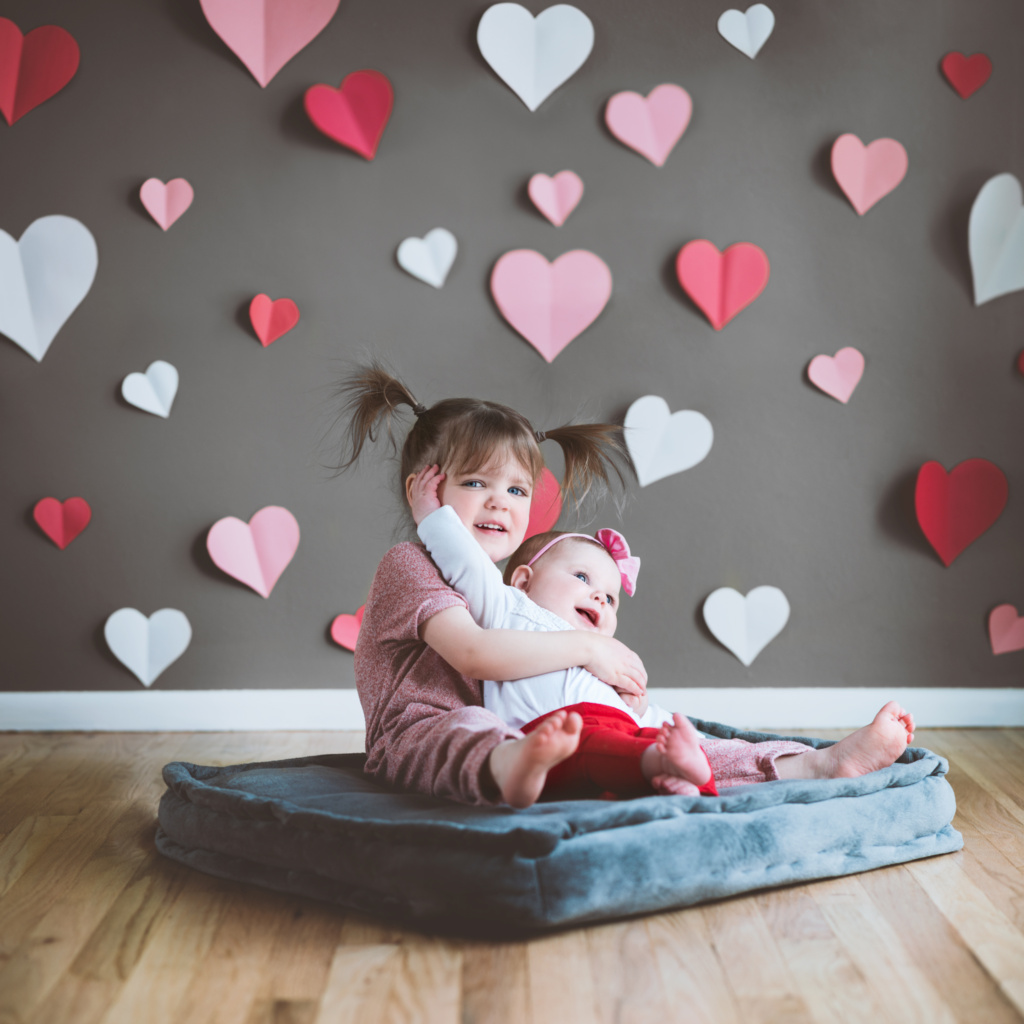
Add props and decorations as you like, but for me, I like to keep things simple. It keeps the focus on your subject to not have a lot of distracting objects around them. In the case of the flower and teddy bear I used, it did help to have something to preoccupy my daughter, but I made sure that she was engaging with the object, rather than it just sitting on the floor next to her.

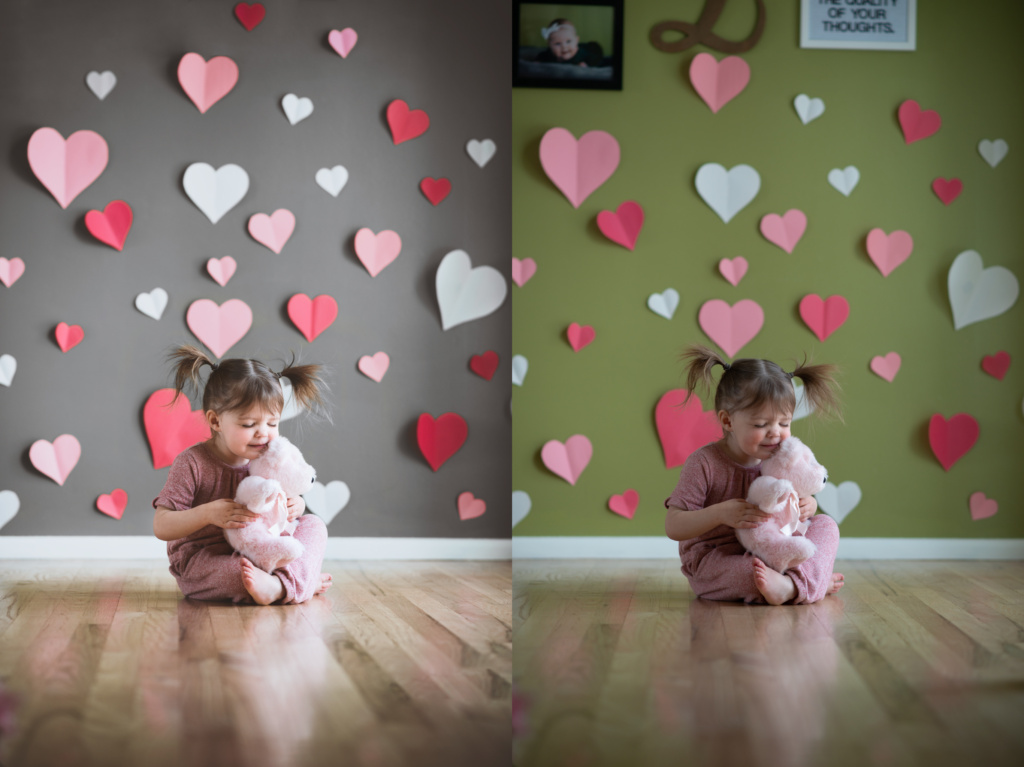
Lastly, try not to be limited by what you have available. As much as I’d love to have an in-home studio, I currently have to make do with my dining room. It is the source of the most natural light I have in my house, and I will shove aside the dining room table and chairs whenever I have a new idea. I call this wall my green screen 🙂 Lightroom makes it easy to change the hue and saturation, so have fun switching things up to create whatever you have in mind!
Here’s a ‘before and after’:
Click on the Heart to find me on Instagram!
Click HERE for more blogs and ideas!
Find this idea on Pinterest, and pin a picture of your own shoot if you happen to try it – I’d love to see how your pictures turned out.

